scroll down to the Database section , and select MySQL Database Wizard.

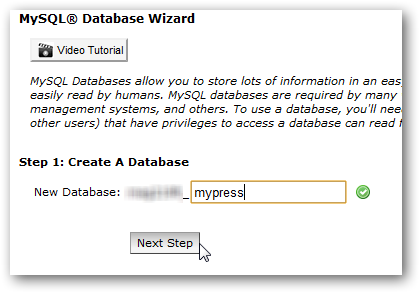
Enter a new name for your database. Note that your full name will include the name on the left of the text box, so the full name is usually something like yourhosting_yourdatabasename. Click Next Step when you’re ready.
Now enter a database username and password, and click Create User. If you’d like to make sure you have a strong password, you can use the Password Generator which will create a secure, random password. Again, make sure to note the password and username, as you will need this information when you setup WordPress.

Download the latest of WordPress click here
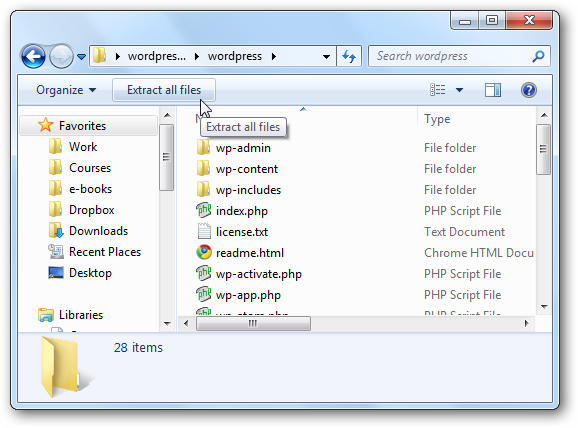
Extract the contents of the WordPress zip file, and note where you saved these files.
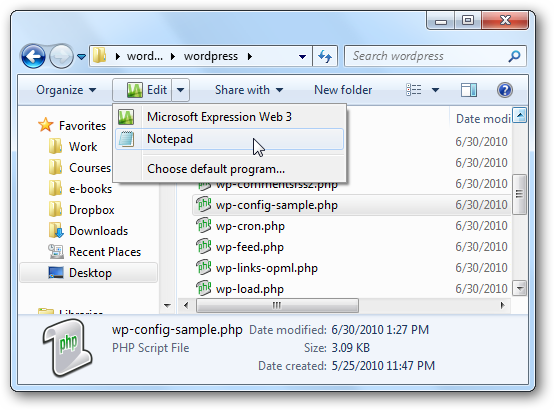
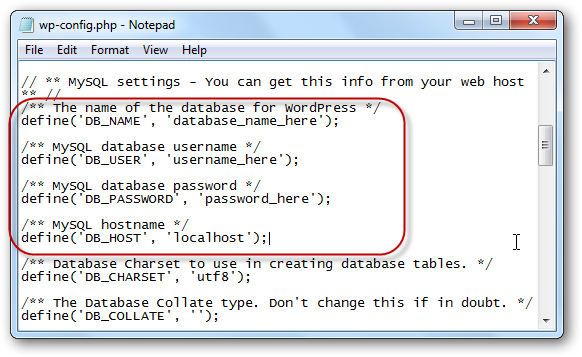
Once the files are extracted, you’ll need to create a wp-config.php file with your database information. To do this, open the WordPress folder, find the wp-config-sample.php file and open it in your favorite web editor or a text editor such as Notepad.
Scroll down to the MySQL settings in the file, and enter the information from your database you created before. Place your database name instead of database_name_here, your username instead of username_here, and so on. For most hosts, leave the hostname as localhost; if your site is configured differently, check with your hosting provider for database information. Leave the single quotes in place; only enter the correct info instead of the default filler text.
save the wp-config.php file and compress the all file to .zip
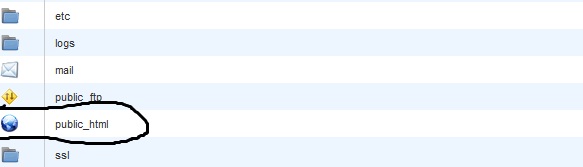
login to your Cpanel, scroll down to the Files open the file manager

select the public_html and open it
upload the WordPress files

Finish Setting up WordPress
The full upload will take several minutes, depending on your internet connection speed. Once its finished, you can start setting up your site. Open your browser, and enter http://yourdomain.com/wp-config.php, replacing yourdomain.com with your domain or subdomain name. After a few moments, the WordPress configuration page will open. Enter a name for your site, and account information for the site administrator. Enter your email address as well so the site information can be emailed to you. When everything’s entered, click Install WordPress.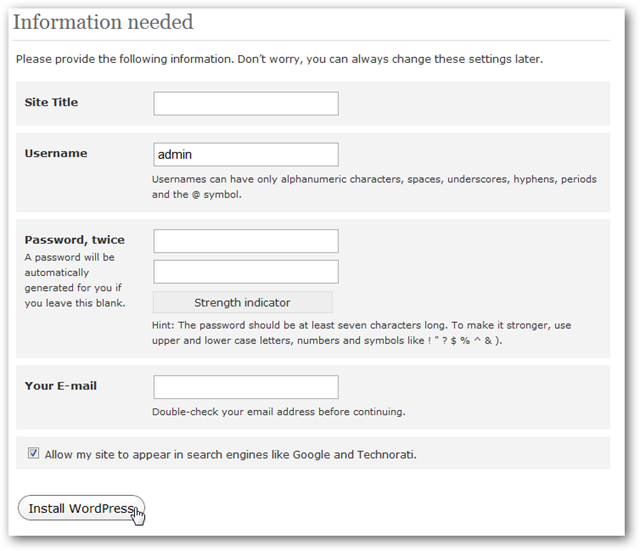
After a moment, you’ll see the Success screen letting you know that WordPress is fully installed on your site. Click Log In to access your new WordPress site’s admin page.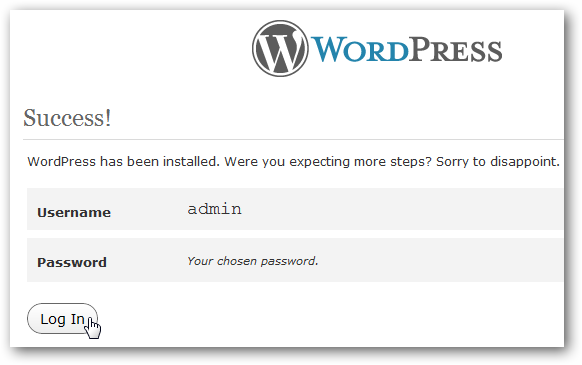
Enter the username and password you just created, and click Log In. You can access this page anytime in the future by browsing to http://yourdomain.com/wp-admin.php.
Here’s the Dashboard on our new WordPress site. You can now add posts, change the theme, and more, just like normal in WordPress.
